Survival kits come in different shapes and sizes. For the purposes of this article we will be talking about 72 hour to 1 week kits and how they can help you in an earthquake situation.
What Does a First World Emergency Look Like?
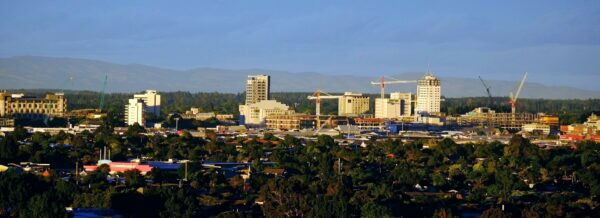
No, I’m not talking about losing your Wi-Fi or leaving your cell phone at home. I mean a fire, earthquake, or flood in a first world community. It’s important to look at how these kinds of emergencies would effect a first world city because when we are shown severe natural disasters, the pictures often come from places with less resources to deal with major damage. Our perceptions of what ‘disaster’ means is warped by the drama of those situations. Our culture craves drama, and the media happily obliges.
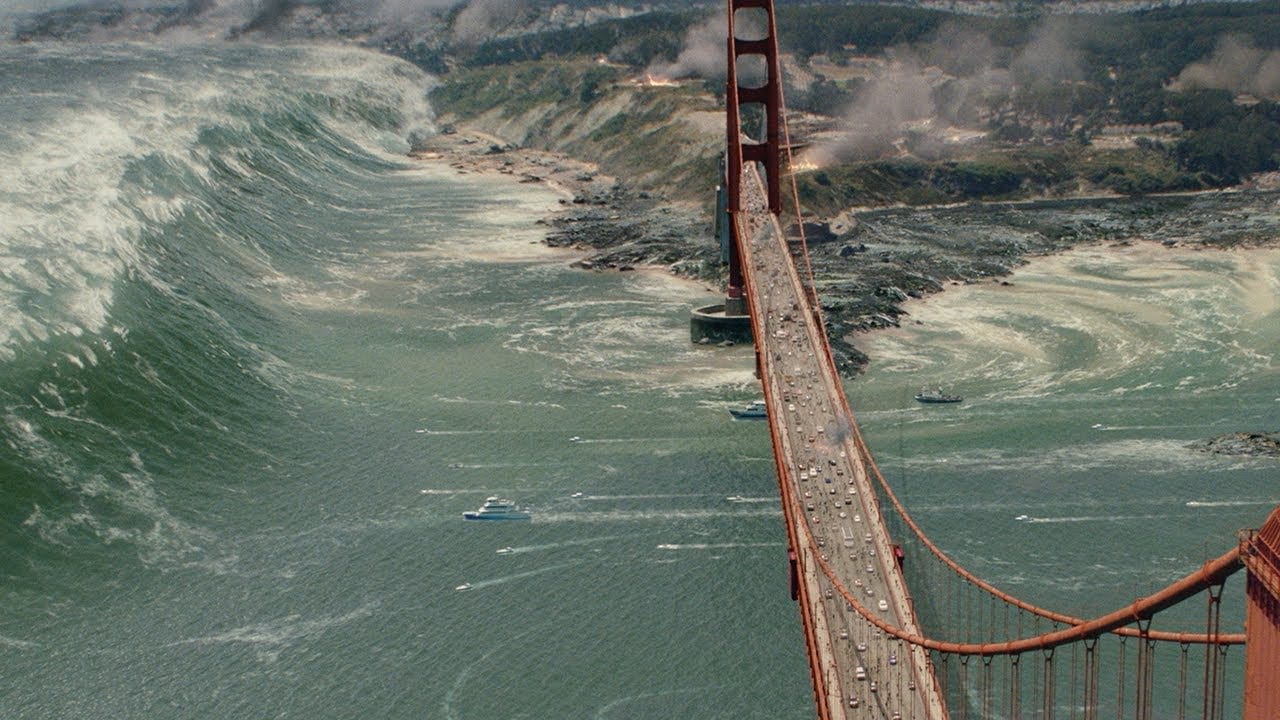
Tsunami Scene from the movie San Andreas (2015)
The movie San Andreas (starring Dwayne ‘the Rock’ Johnson) paints a picture of what would happen in California if it were hit with a Mega-thrust earthquake. On film, the Hoover dam is destroyed, skyscrapers topple, and an impossibly tall tsunami wipes out the city. This is great TV, but not good educational material.
If a mega-thrust earthquake were to hit the west coast of North America in the next 50 years (a one-in-three chance), it would cause a tsunami, however, it is likely that it would only be a baby one. The major fault lines along the west coast of the continent are too shallow to cause 40 meter waves like the Tōhoku earthquake off the coast of Japan in 2011. Scientists believe we are much more likely to experience waves from 5 – 10 meters in height, still dangerous and damaging, but hardly Hollywood material.
These waves will likely grow to 15 meters as they travel up inlets and channels causing plenty of damage and flooding before they peter out. Basically, unless you live within a few blocks of a beach or inlet, a tsunami isn’t going to be your biggest priority if we get a 9 on the Richter Scale.
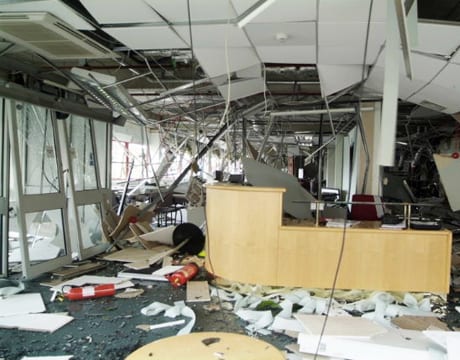
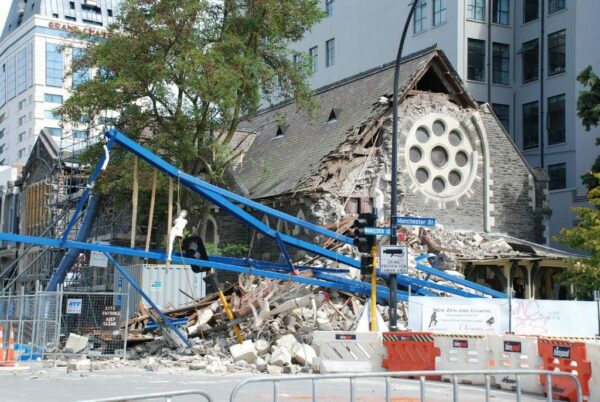
What will happen is this:
- The ground will shake violently for several minutes.
- Your furniture will fall over, your paintings will fall down.
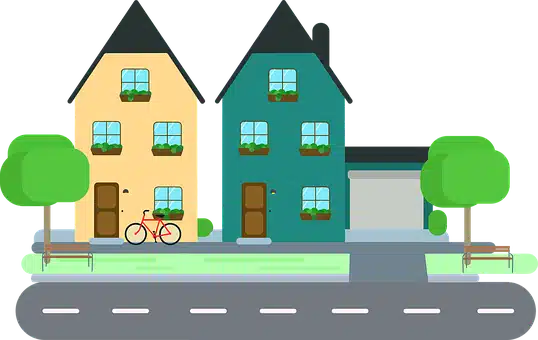
- If you live in an older or structurally unsound building it will likely collapse. Even if it stays standing you won’t know if it’s structurally safe. Newer homes may shift off their foundations.
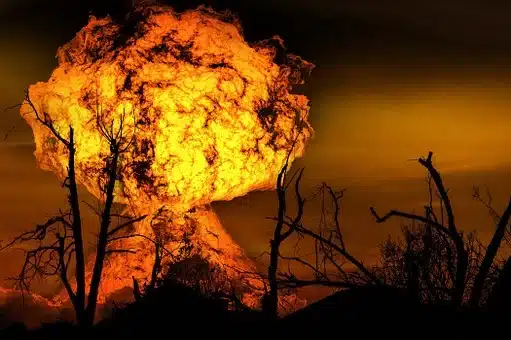
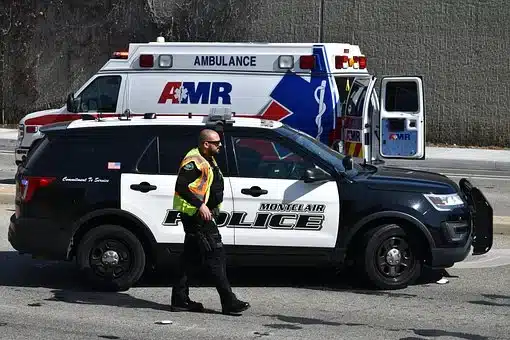
- Fires will start and emergency response personnel will probably be overwhelmed, unable to stop all of the fires from spreading.
- Streets will become impassable with debris and sinkholes.
- You’re electricity will probably go out, likely for days or weeks.
- Gas and water pipes are extremely likely to rupture.
What does this mean for you? Well, it basically means you’re a little screwed, especially if you weren’t prepared. For those keeping track you just (hypothetically) lost: shelter, water, electricity, fast access to emergency services, the ability to travel quickly/conveniently, and -once your freezer warms up- your food. And Wi-Fi, we can’t forget the Wi-Fi.
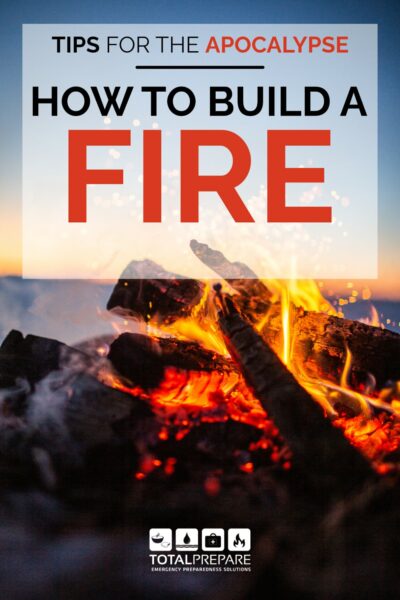
Then there’s always the chance that one of the fires started in the earthquake reaches your home, but you can read about that here.
The good news is:
- Many buildings will still be standing.
- Many communities have disaster response plans that will help speed recovery time.
- If you haven’t prepared, your community’s rescue efforts will likely ensure that you don’t starve or die of thirst (though you won’t be comfortable by any means)
- You’re reading this article so hopefully you’re taking the steps to get prepared… just in case.
- Survival kits are useful in loads of situations. These could include anything- fires, floods, home invasions, rioting, burst pipelines, car breakdowns, volcanic eruptions, nuclear power plant meltdowns… You name it. So your investment is pretty solid.
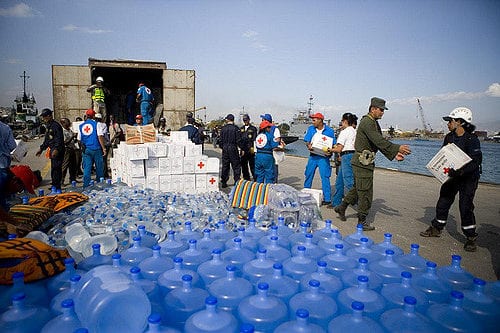
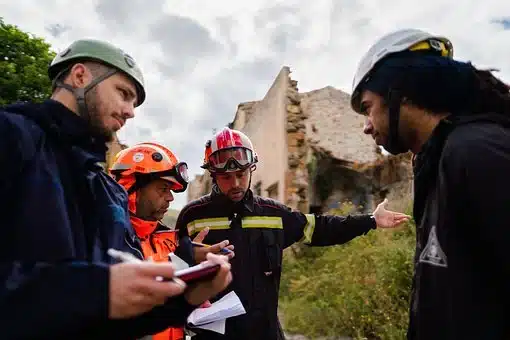
In downtown Port-au-Prince, Colombian Red Cross workers unload relief items including water, hygiene kits and food supplies for 6,000 families. January 23, 2010. Credit Talia Frenkel/American Red Cross.
Why do You Need Survival Kits?
Honestly? Because you’re (probably) not Bear Grylls. It is unrealistic to believe the government will be able to bail you out immediately, or completely, if the worst should happen. Emergency Preparedness is a shared responsibility. If an emergency happens, and you are cut off from your basic facilities (electricity and clean water being the biggies) an emergency kit will help you to stay healthy and comfortable. Survival kits can make the difference between hungry refugee, and impromptu camper. Besides the basics of life, you can also add things to your emergency kit to make your family’s return to normalcy that much smoother.
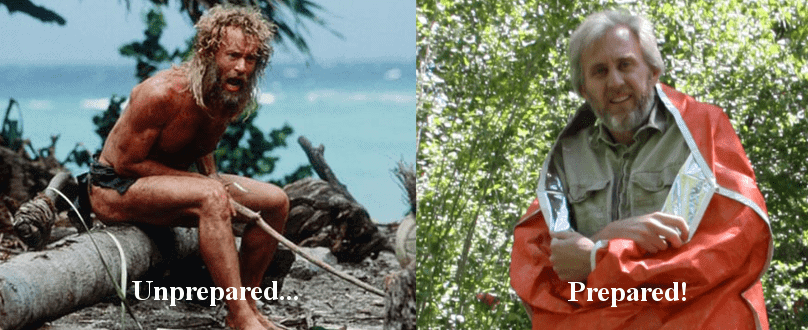
Tom Hanks from was unprepared for disaster in the film Castaway, while Preppy Peter is snug in his HeatStore Reflective Blanket.
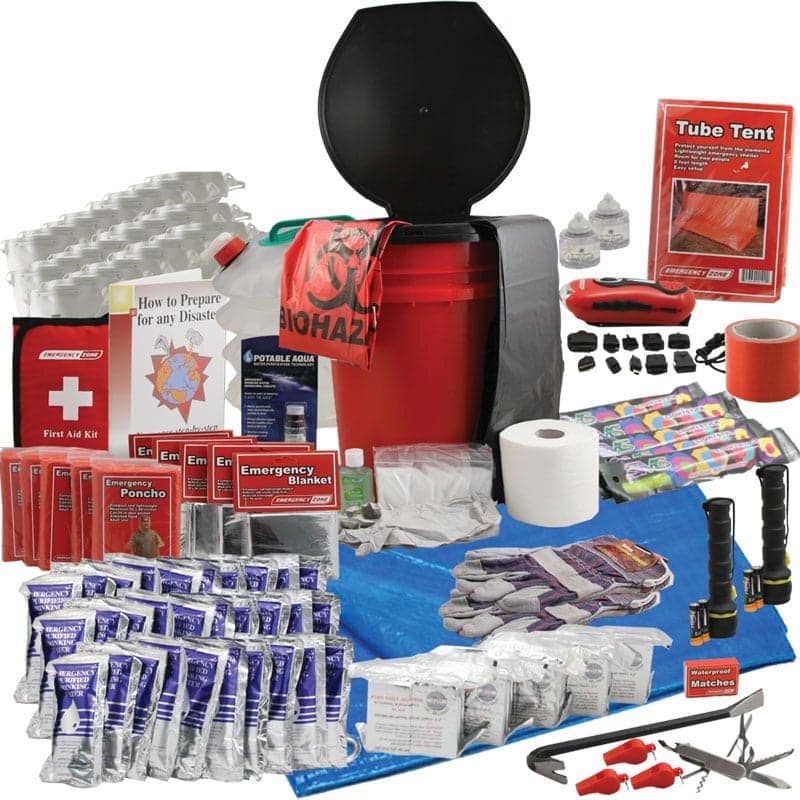
A good survival kit will cover all of your basics. It should have a high calorie food source, clean water and/or a way to purify fresh water, tools to keep you warm (blankets and tents are favourites), and utility tools to help you build fires, see in the dark, deliver first aid, and the like. A great survival kit also includes some of the comforts of home. These may include a variety of meals (not just food bars), stove options for cooking, solar/crank cell phone chargers and hygiene kits- just to name a few.
Whether you buy or build a survival kit, make sure that you include copies of important documents, medications, and contact numbers. These will allow you to rebuild your lives more quickly and with less frustration than you could without. In the case of medications, it could also save the lives of your loved ones.
Buy or Build?
Hopefully I have managed to convince you that you will be better off with an emergency survival kit, but what now? Do you build your own, or buy a professionally compiled kit from a trusted Canadian distributor? Both are good options, and both have their advantages and disadvantages.
Buying a Kit
Pros
|
Cons
|
|
|
|
- Knowledgeable staff to answer questions.
|
- Can’t always inspect product before purchase.
|
- You can usually customize your kit.
|
|
- Gluten Free Options Available.
|
|
|
|
|
- Tried and tested products.
|
|
|
|
|
- Different price points available.
|
|
Building Your Own Kit
Pros
|
Cons
|
- Often more cost effective.
|
- Depending what you buy it can be expensive.
|
- Use familiar items from home.
|
- Have to organize and gather items by hand.
|
- Test out goods before including them.
|
- Lack of expertise can lead to missing key items.
|
- Accumulate pieces over time, mitigating costs.
|
- Difficult to find diverse items with long shelf lives.
|
Naturally you can also combine both methods, buying a basic kit and supplementing it with your own items, or cherry picking your favourite professional items and filling your home-made kit.
What to look for? What are the differences?
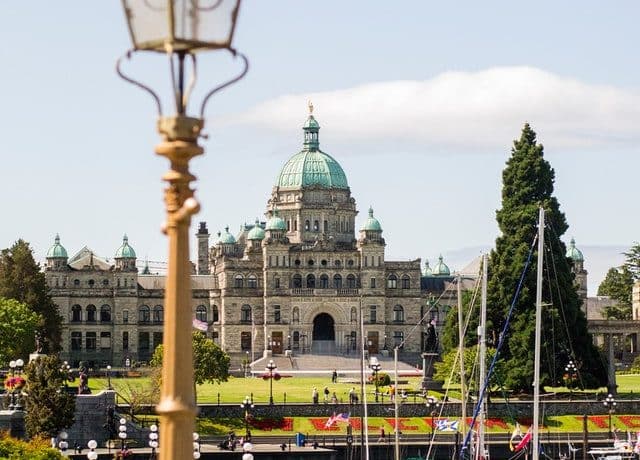
Emergency kits come in all shapes and sizes. 72 Hour survival kits are the most common, and are a good option for smaller emergencies that will leave most of your local infrastructure intact. The BC government recommends that households be prepared to sustain themselves for at least week in an emergency. A mega-thrust earthquake could knock out infrastructure in rural areas for longer than that, so if you live in a remote place you will want to consider preparing for more time. All of these kits can often be mixed, matched, and adjusted to fit your specific needs.
72 Hour Kits
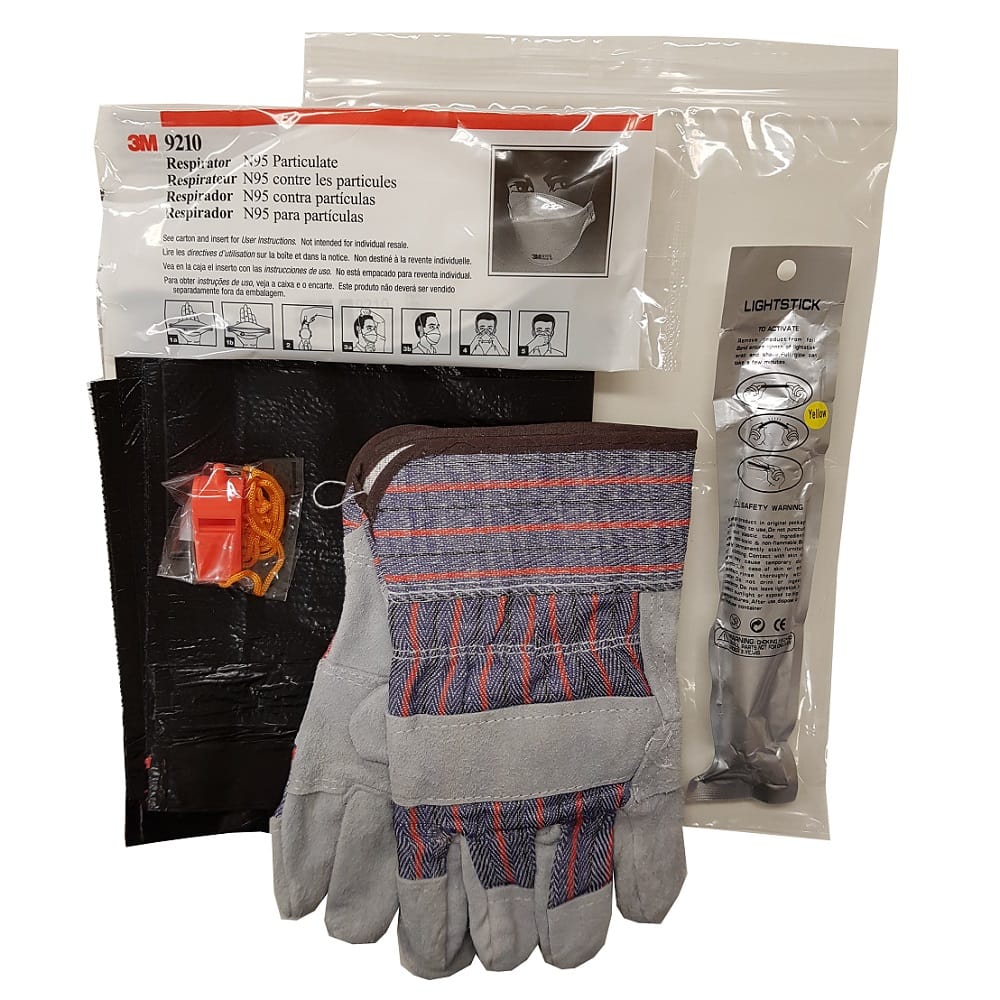
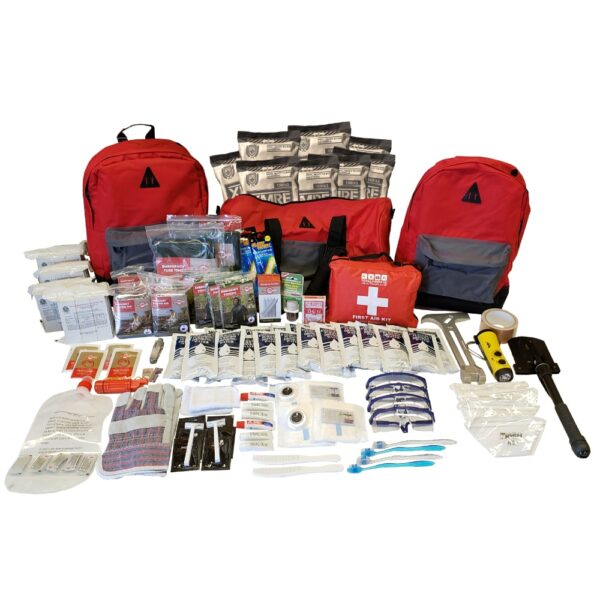
Most 72 hour kits come in 1 – 4 person sizes. At minimum these should include food bars (SOS bars taste like shortbread!), a preparedness guide, reflective blankets, waterproof protection (e.g. ponchos), survival tools, a first aid kit, and hopefully a hygiene kit. All of the kits listed below also include N95 dust masks to protect you from the dust kicked up in the event of an earthquake, one of the most harmful and least prepared-for dangers.
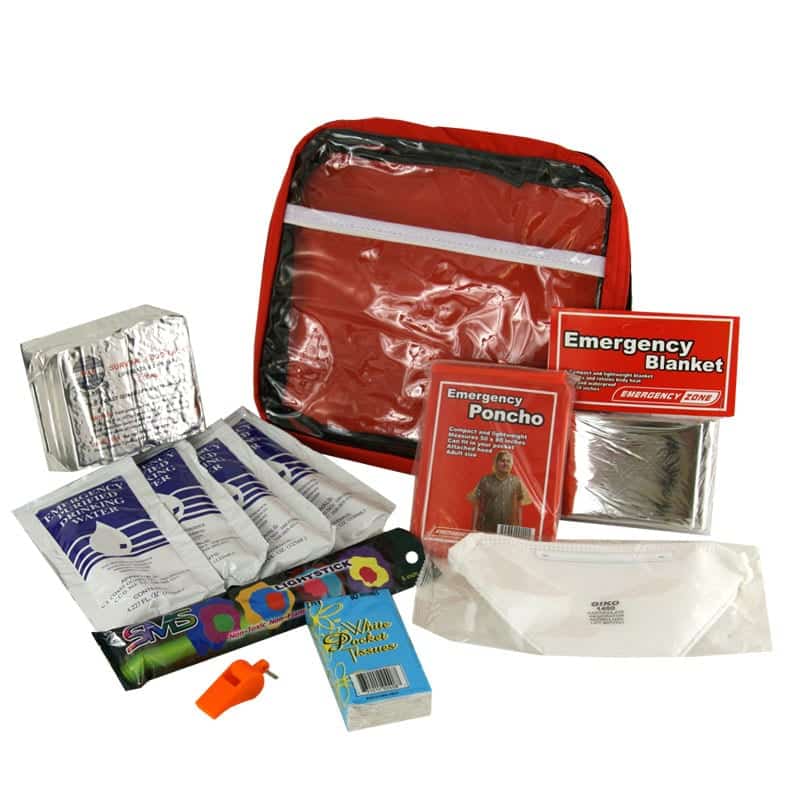 Individual Essentials Kits
Individual Essentials kits are the most affordable 72 hour kit option offered by Total Prepare. Starting at $29.95* these survival kits are designed to be a starting place for people who just want the basics. They make a great base to build from if you are looking to add your own items to a kit. If you are interested in this kit you may want to supplement it with some extra water pouches, a LifeStraw, or some Aquatabs, as the provided water supply is purely for base survival only.
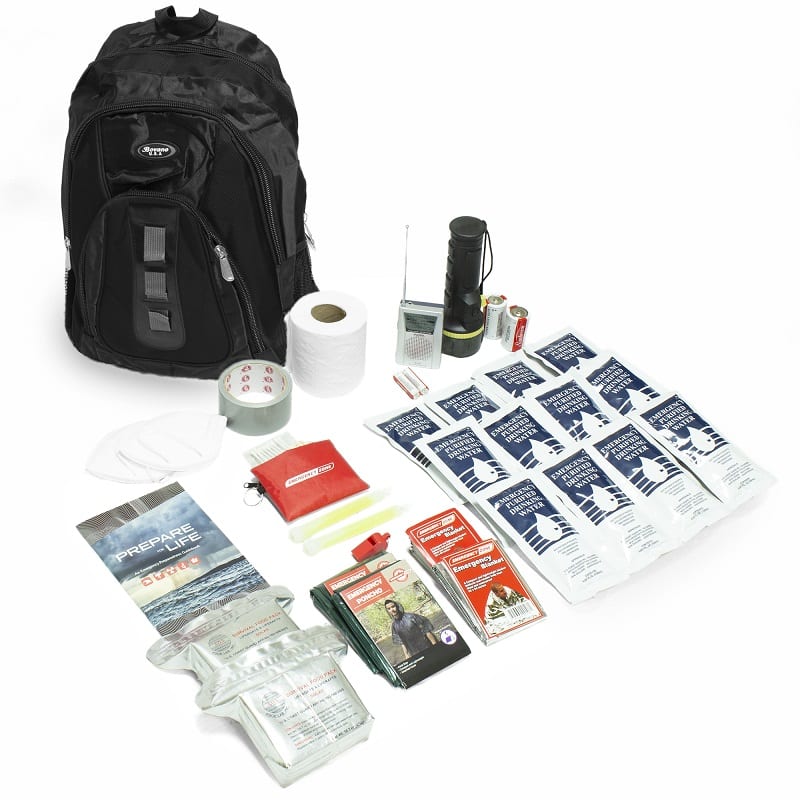 Backpack Essential Survival Kits
Essential Survival Kits are the next step up in price and supplies from the Individual Essentials Kits. This is our mid-range option, starting at $114.95*, for those looking for a little more than the barest minimum. This kit has a similar base to the previous kit with a few useful additions. These include water purification tablets (in addition to the water pouches), a flashlight, an AM/FM radio (with batteries), tube tents, and a larger variety of survival tools. This kit does not come with hygiene supplies.
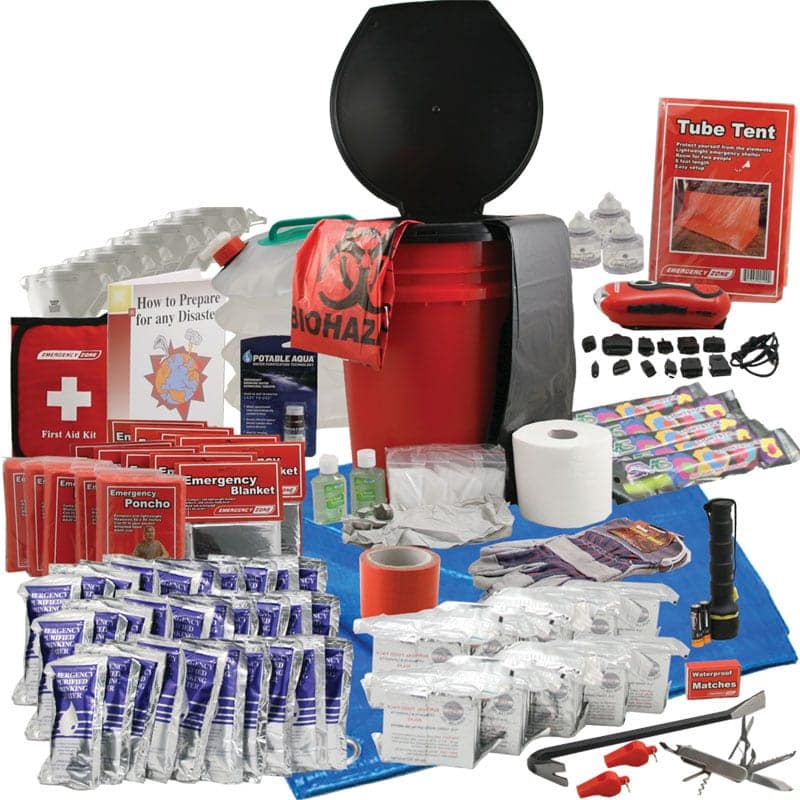
Urban Survival Kits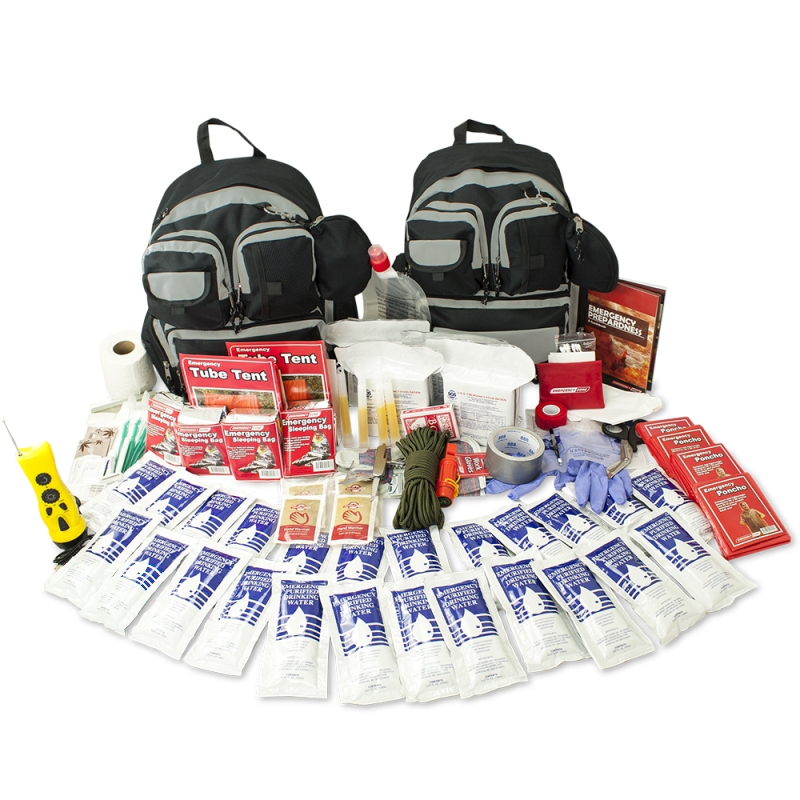
The Urban Survival Kits are our most popular 72 hour option starting at $199.95*. They start with all the same items as the Essential Kits with the following changes: Instead of a flashlight and a radio the urban kits include a solar/crank radio/flashlight all in one device that can also accept alkaline batteries. The Urban kit also upgrades the Essential’s first aid kit to be more extensive. On top of that, these kits contain: our best hygiene kit, additional survival supplies (including a sewing kit and can opener), playing cards, light sticks, and even hand warmers.
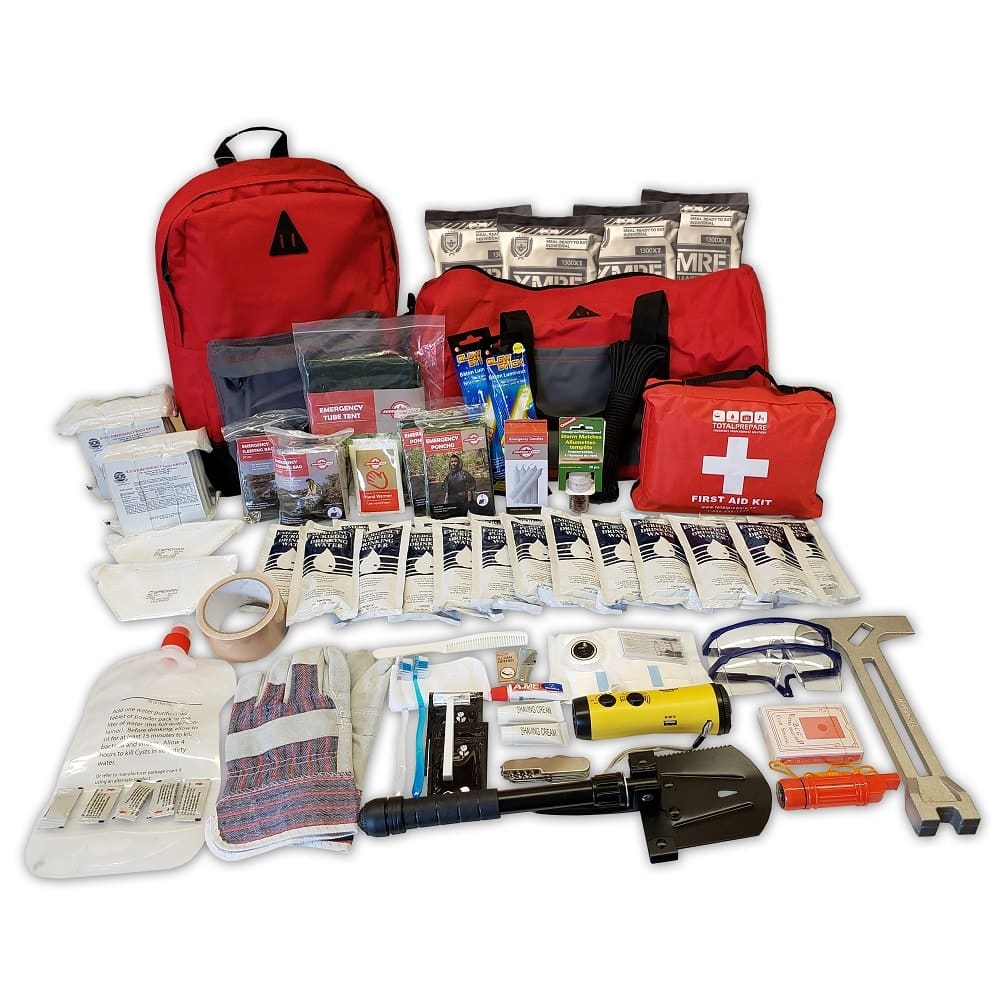
Premium 3 Day Earthquake Kit
The 2 or 4 person Premium Earthquake Kit was designed in-house by our team. Our intent was to build the ideal surivial kit that we would want to have in an emergency. It includes the highest daily calories of any of our 72 hour kits, self-heating meals, a large first aid kit, search and rescue tools (folding shovel, work gloves, safety glasses), and a 4 in 1 tool for turning off your gas and water valves. This kit is the best of the best for 3 days and starts at $384.95*.
*Prices subject to change.
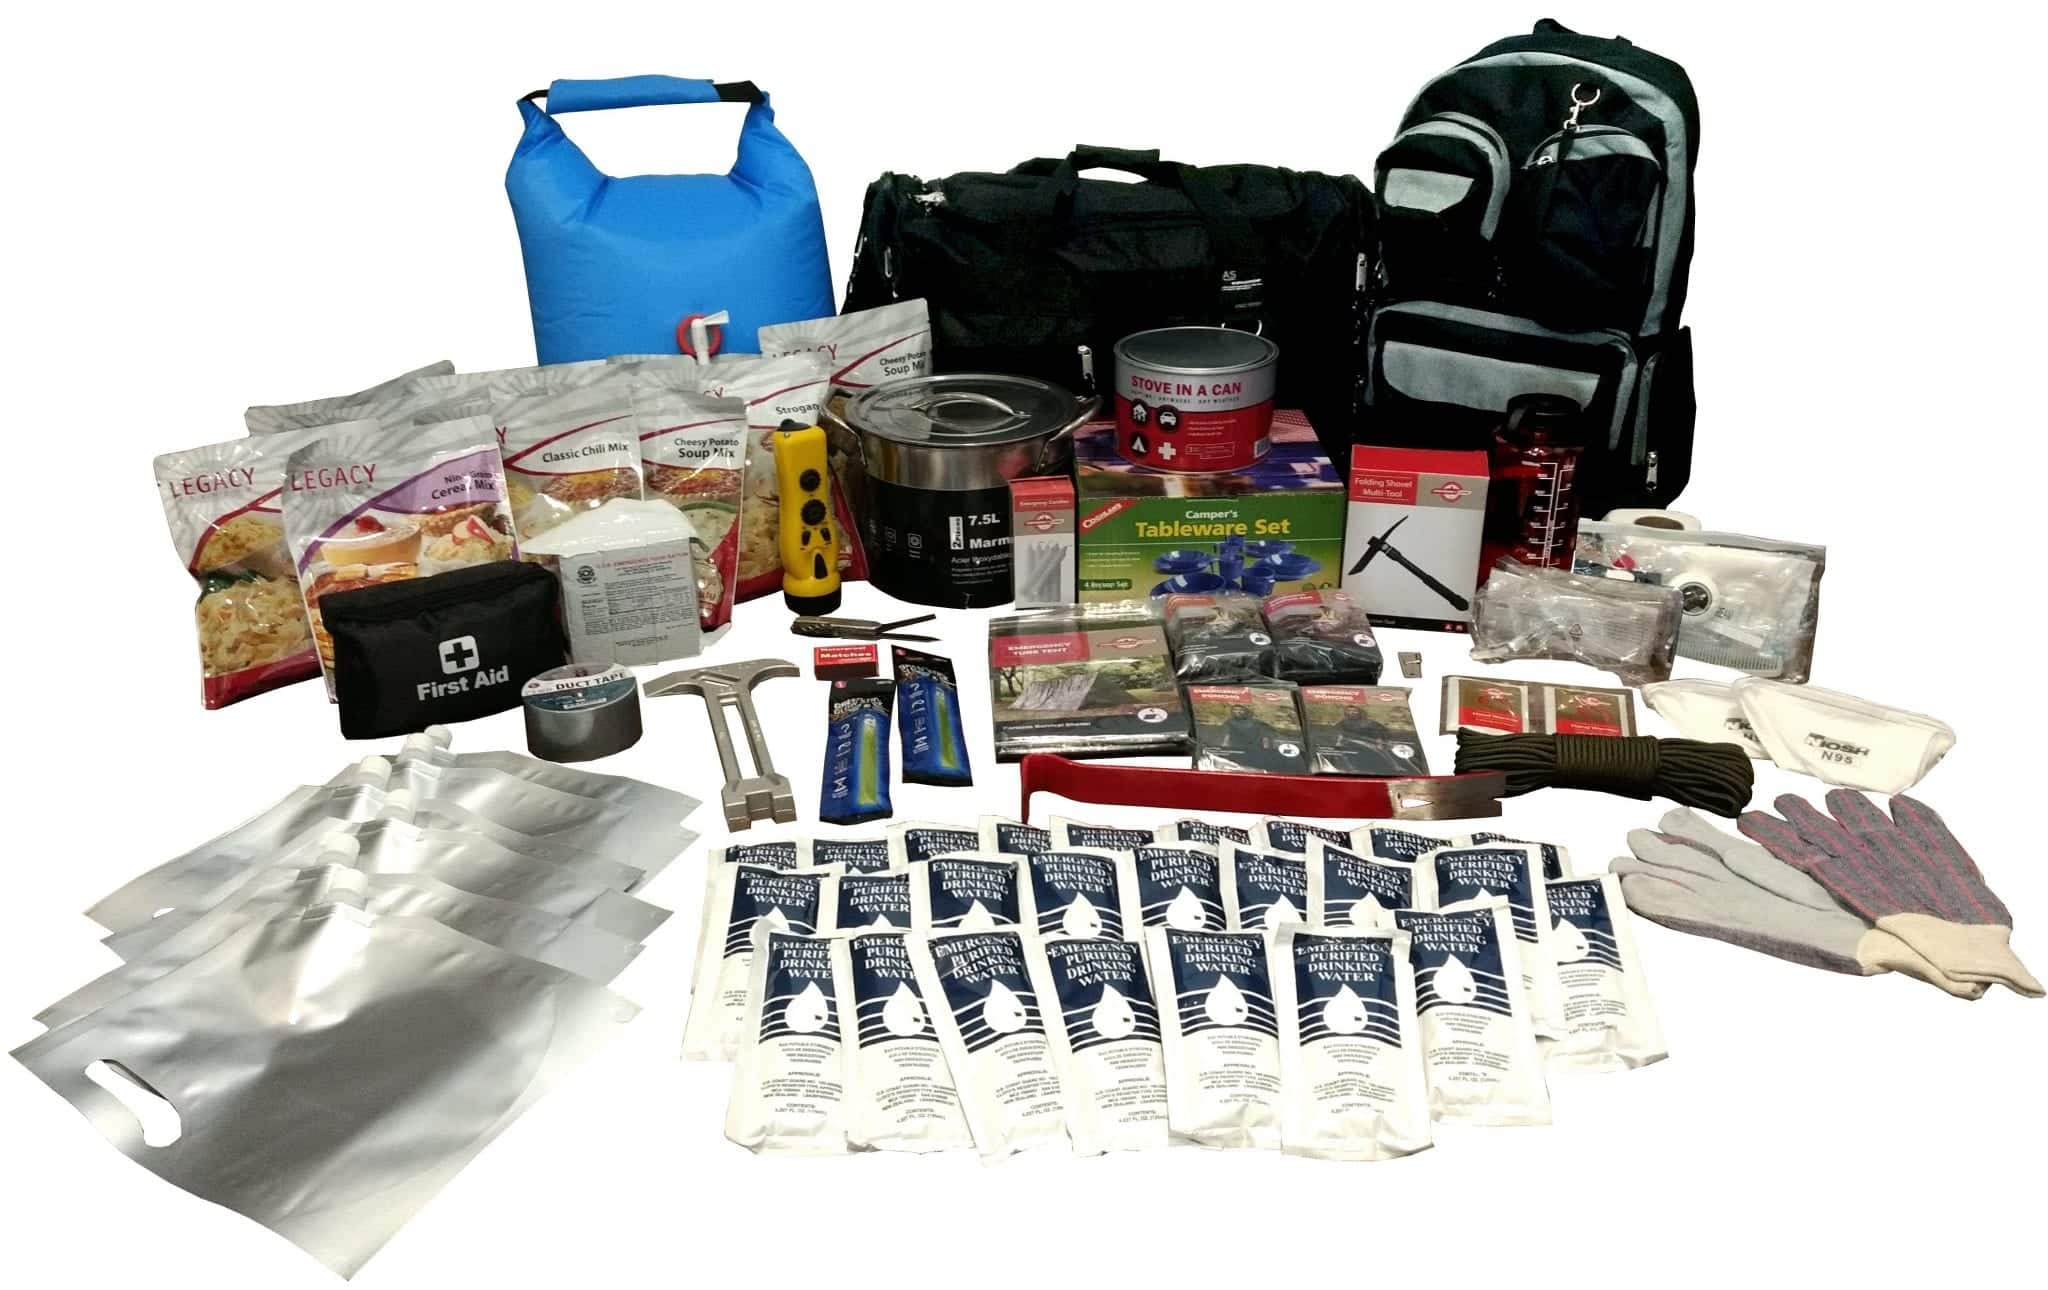
One Week Kit
In the event of a major earthquake the minimum recommended amount of time to prepare for is one week. Kits for longer than 72 hours generally need to provide a larger variety of food options and nutrients. This in turn means that it needs to provide more water for cooking and cleaning, and also a way to cook the more complex food.
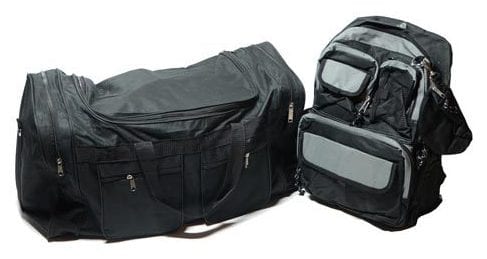
Starting at $474.95 these One Week Duffel Kits come in two and four person sizes. They set themselves apart from other kits by including a variety of baggage options (backpacks and duffels), and providing extra tools for digging latrines and searching through debris. It has an extensive array of survival tools and safety gear, and is also excellent for establishing a shelter-in-place for one week.
These survival kits feature premium freeze-dried food. With a 25 year shelf life these hearty, tasty meals will give you the extra nutrients and energy you need to get yourself and others safe and comfortable.
*Price subject to change.
Location Kits – How are they different?
Natural disasters are inconsiderate. Even the Canadian ones. They will strike any time with no regard to how it will affect YOU. If you work a 40 hour week then there is a 24% chance that you’ll be at work when a natural disaster occurs. In the event of a major emergency getting home from work, school, or wherever you’ve been stranded on the highway, could be difficult or even impossible. Depending on how well your local infrastructure survives you could be stranded for up to a few days. What’s more, if you work at a prominent business or government building you can expect your workplace to be a meeting place for local families looking for community support.
Office Kits
Unless you’re lucky enough to work in a preparedness store, it is unlikely that your office has enough emergency supplies. Providing enough supplies for your team, or company, or even just supplies for yourself, could save you a big headache in the future. There’s also a lot to be said for creating an EOC (Emergency Operations Centre) if you are buying for a larger company. Each of the below workplace kits are designed to last one day, with the assumption that the employees will want to go and rendezvous with family. If you desire more time, additional food and water options can be found here.
 Under-desk Kit
An Underdesk Kit is the bear minimum to have in your office. They can be secured beneath each employees desk with packing/duct tape and hold supplies that will be crucial for search and rescue or safe evacuation in the event of an emergency. If you are in an earthquake zone, and especially if your office has a lot of windows, this is a must have.
10 to 100 Person Workplace Kits
 If you are providing for a large business, or if you think your building will be a meeting place in your community, you will likely need a larger survival kit. Total Prepare offers individual kits (above) that can be supplemented for more people, however if you are providing for 8 or more employees we highly recommend a larger kit.
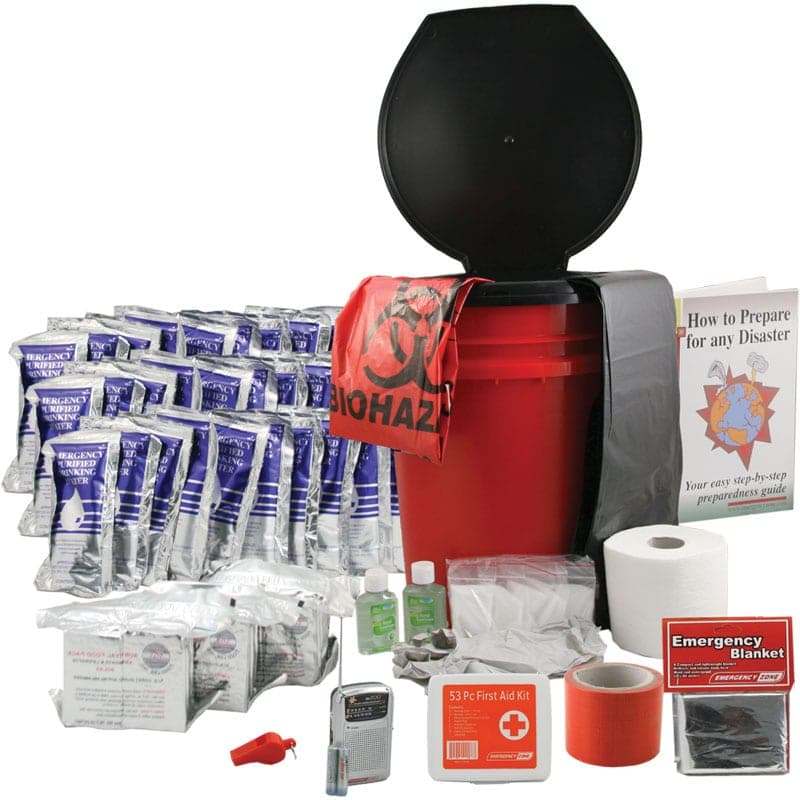
These workplace kits include toilet kits, a feature that is often overlooked. The toilet kits allow for a safe, hygienic, and more comfortable way to deal with waste when indoor plumbing is no longer an option. These kits also include food and water for 1 day, dynamo flashlights and radios, a variety of utility tools and gear, blankets, tents, ponchos, and a first aid kit. Just what you need to keep any number of employees as comfortable as possible in an emergency situation.
Earthquake Cabinets
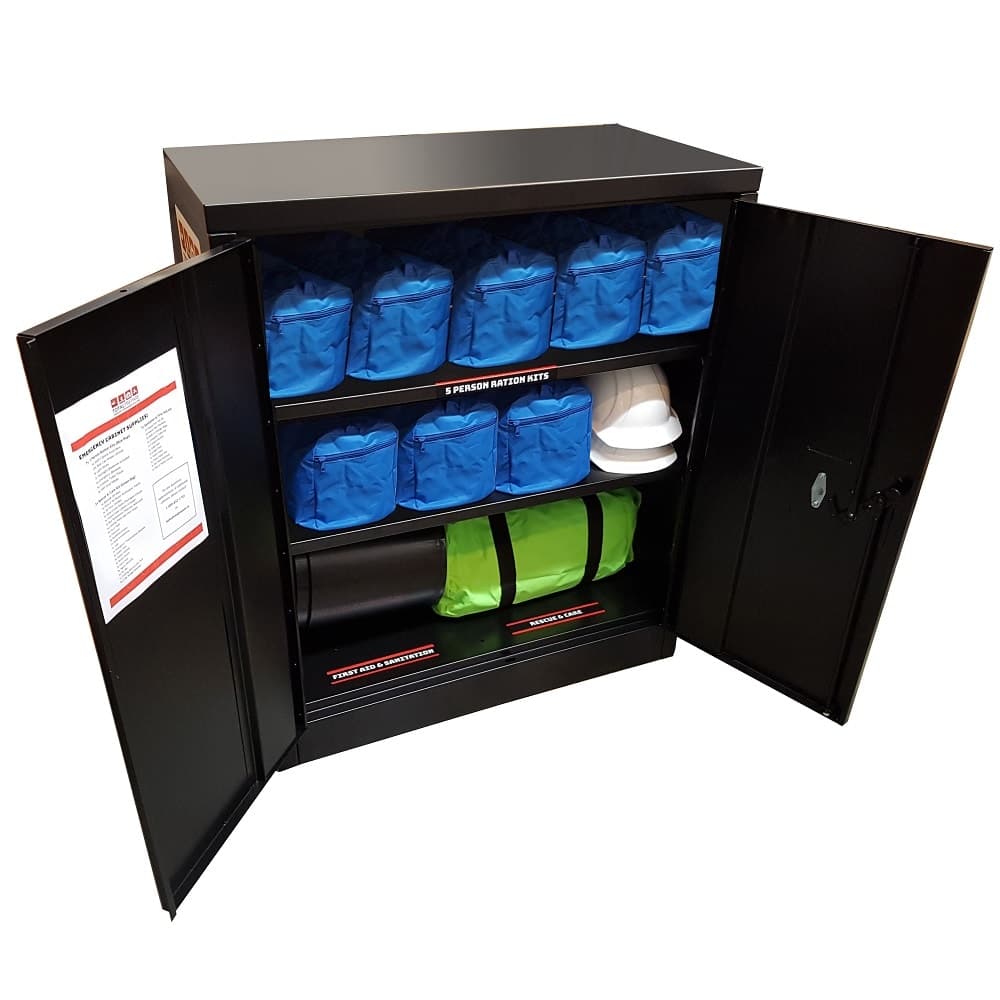
If you have the space, an earthquake cabinet is the single best way to prepare your team for an emergency. Total Prepare’s cabinets come standard with all the supplies you need to keep your team ready for anything. Contents include 50 year shelf life Blue Can Water, water treatment, search and rescue equipment, sanitation supplies, first aid, food bars, solar lanterns, flashlights, radio, and so much more! If you’re equipping a large organization please reach out to our team so we can ensure you get the best service available to you.
Car Kits
Your car is one of the safest places you can be in a disaster. It’s like your own personal tank and bunker all in one. It is also the #1 place where you are likely to need an emergency kit. Why? Because you regularly strap yourself inside a piece of metal and use controlled explosions to throw yourself over cement at unnatural speeds. It’s a recipe for disaster.
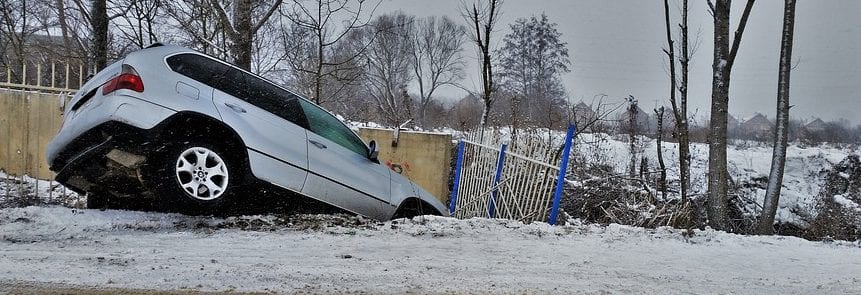
Vehicle survival kits are great for every day emergencies, you don’t need a mega-thrust earthquake to use one. A few extra resources make a big difference when accidents, flat tires, break downs, running out of gas, or getting stuck in snow or mud ruin your day.
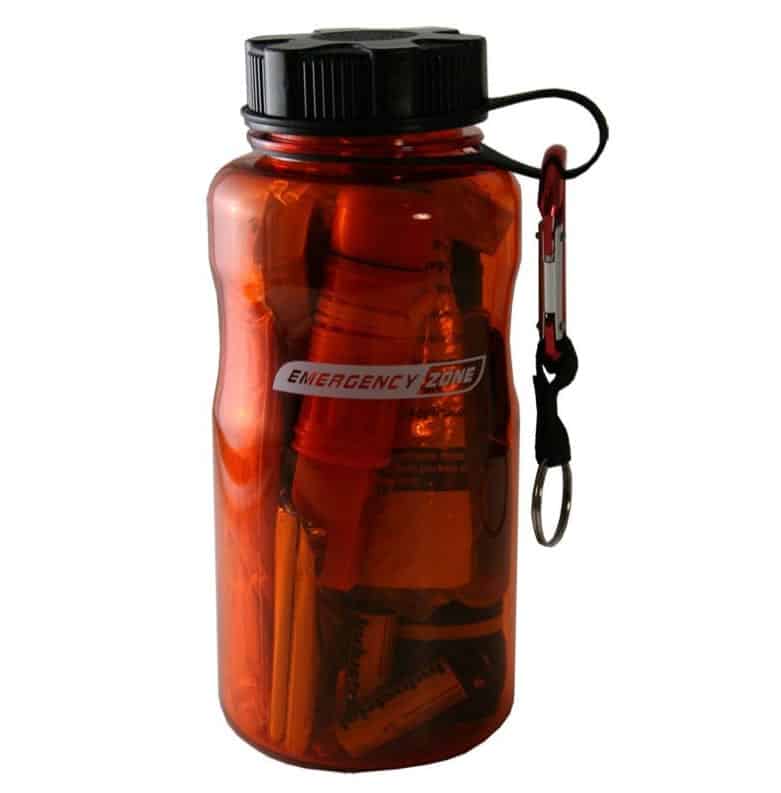 The Survival Bottle
A great compact kit for the car, and an excellent gift, the survival bottle provides great bang for your buck. Priced at $32.95* this kit provides handy tools in case you find yourself stranded. It includes a blanket, poncho, multi-tool, glow stick, 5-in-1 survival whistle, flashlight (batteries included), a first aid kit, and a hardy water bottle with carabiner.
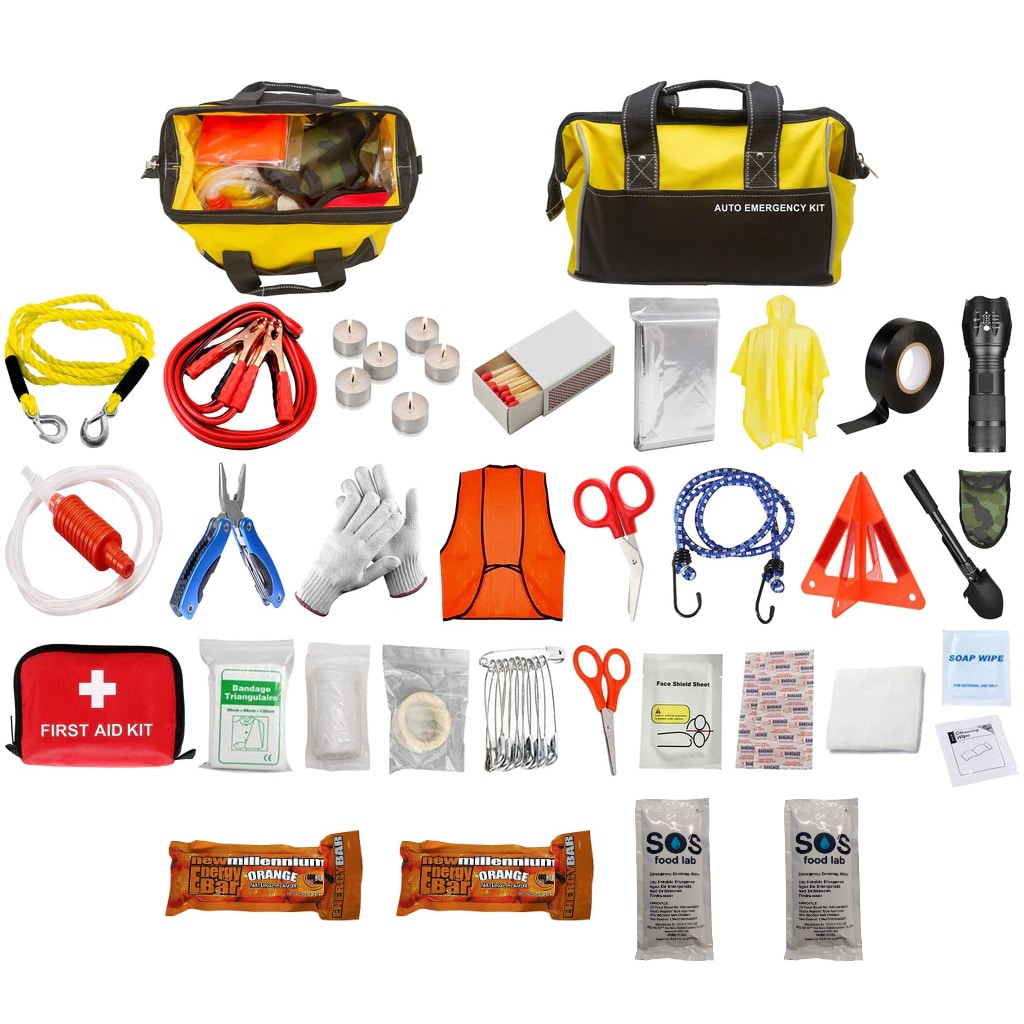
Premium Vehicle Safety Kit
Do you worry about breaking down? The PremiumVehicle Safety Kit is the kit for you. At $99.95* it includes tools for staying warm, food and water in case it takes a while for help to arrive. This kit really stands out in breakdown situations providing car essential items such as jumper cables and a tow rope, but includes other vital items such as a reflective emergency triangle, work light, and ice scraper. This kit also includes a small first aid kit and even a syphon.
*Prices subject to change.
School Kits
As a general rule of thumb, kids can’t drive. In emergencies children are effectively marooned until a guardian can get to them. Be it school, daycare, or a place of worship- the institutions that care for children should always have at least one day of emergency supplies in place.
I would like to take a moment to offer our thanks for the teachers and staff in charge during an emergency. With families of your own at home we understand that it takes super-human compassion to stay and care for other people’s children. Thank you so much for what you do, and we hope that you find wrangling thirty children during a disaster a little easier with these kits.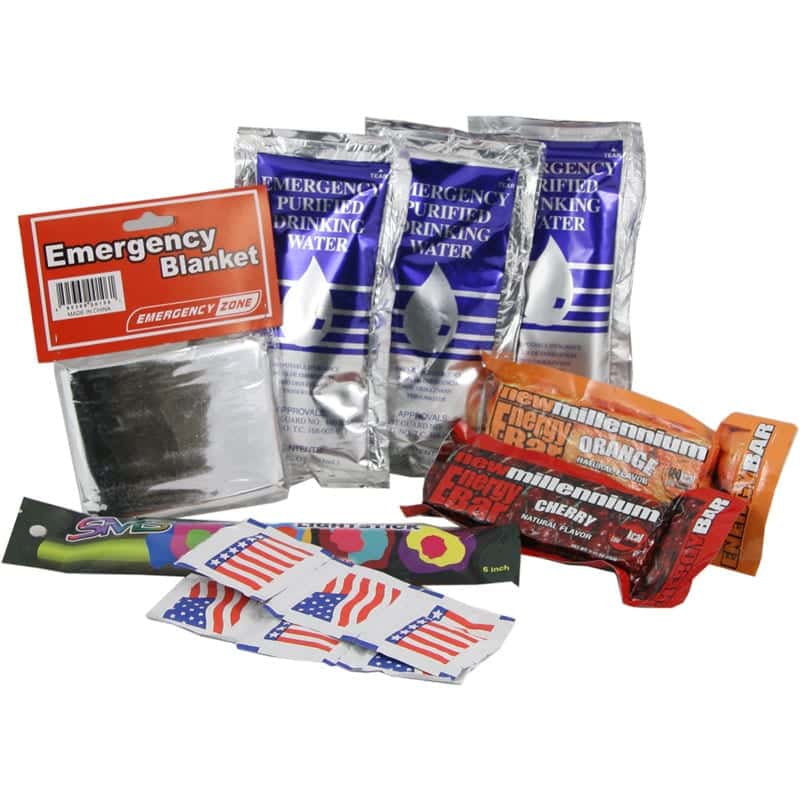
Basic Student Emergency Kit
This Basic Student Kit is designed to keep a student fed and watered for one day. It includes a foil blanket, lightstick, wet-wipes, water pouches, and Millennium Bars. Millennium bars are fruit-flavoured and more palatable to kids than SOS bars.
School Emergency Kits
Classroom kits provide a class of 30 students with enough supplies to survive for one full day. Total Prepare offers three different levels of preparedness kits for schools: Economy, Basic, and Deluxe.
Economy
Deluxe

Basic
The Economy Classroom Emergency kit (shown left) covers food and water needs, and comes with a toilet kit. It includes a small first aid kit as well as a radio (batteries included), whistle, a reflective blanket, signal whistle, and duct tape.
The Basic Classroom Emergency kit (shown middle) includes all the supplies from the Economy kit but adds 4 more blankets and ponchos, a larger first aid kit, ten N95 dust masks, flashlights, extra whistles, plastic sheeting, and a tarp.
Finally, the Deluxe Classroom Emergency Kit (shown right) is ideal for school emergencies. This is based on the Basic kit but with some improvements. For starters, the Deluxe Classroom kit includes extra food as well as tools for purifying water. This is further supplemented by a Dynamo flashlight/radio with cellphone charging capabilities and extra tools for escaping/searching crumbling buildings. It also includes twenty-five N95 Dust Masks and candles.
Building Your Own Kit
If you’re looking to build your own survival kit there are a lot of great resources available to help you. Find the BC government’s tips on kit creation HERE. If that list doesn’t suit you there are thousands of bloggers who cover emergency preparedness. Simply Google “building an emergency kit” or “DIY emergency kit” and you will find hundreds of articles.
There are 8 areas of preparedness to consider when creating a kit:
Water, Food, Light, Heat, Shelter, First Aid, Communication, and Sanitation
These vary in importance depending on where you live. For example, heat is a much higher priority in Arctic regions than in balmy Victoria. Universally water is your #1 concern. Below is a suggested list of things to consider adding to your DIY kit.
- A water supply or purification tools (see here for information on purifying water.)
- A ready to eat food supply (e.g. SOS or granola bars)
- Long-term food options with a variety of nutrients (canned/dried meals, Legacy Food)
- Flashlights/lanterns with batteries (or a solar powered option) *Note, keep batteries out of the devices while storing. They last longer!)
- Tools for fire/cooking (matches, stoves, flint and steel, etc)
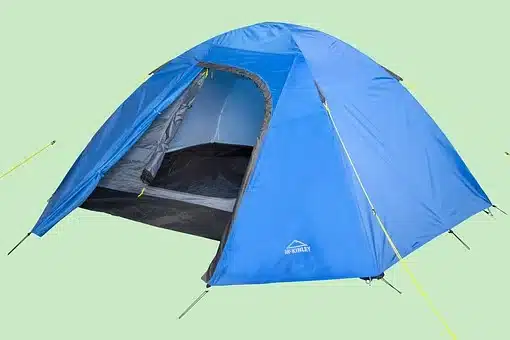
- Blankets, sleeping bags, and tents.
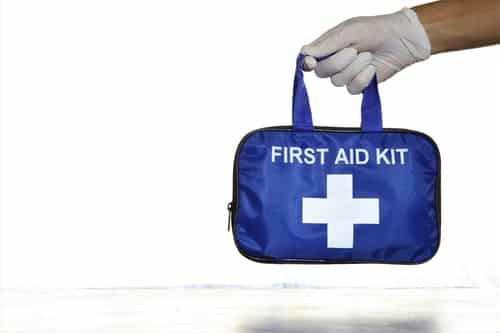
- A first aid kit
- A way to charge cell phones. (Texting will likely be the most reliable for of communication during a disaster.)
- A solid plan and tools for dealing with human waste. Toilet sets or a shovel for digging latrines.
- Medications, spare eye glasses, extra keys to your house/car, baby/pet supplies.
- A few photos, work gloves, extra garbage bags, dishes/pots/utensils, cash, etc, to make yourself more comfortable.
- Copies of: Insurance documents, ID, contact lists, medical records.
- A USB stick with family pictures, resumes, your novel, and any other data that might be difficult to reproduce.
- A hardy, preferably water resistant bag to keep it all in.
Don’t over pack. You may find that you need to carry your kit to a community meeting spot, or to higher ground.
Summary
The odds of a mega-thrust earthquake striking today are approximately 7 in 1,000,000 (-ish, I am not a mathematician.) Those are long odds, but they get shorter every day. Add the chances of fire, flood, government break down, divine retribution, burst pipes, etcetera, and suddenly the risk skyrockets. Don’t take that gamble. With a small investment today you could arm yourself with the knowledge and equipment to be ready for anything. Whether you prefer to buy or build your survival kit, all we ask is that you take the steps to get prepared.
Thank you for reading.
Article written by Zenia Platten – Author of Tethered and emergency preparedness professional.


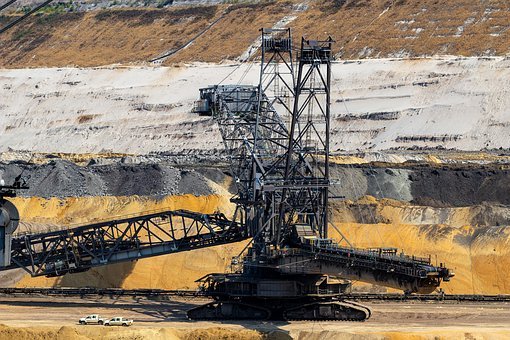
 If you were picturing Dr. Evil standing beside the QuakeMaster6000 and rubbing his hands together, then I’m sorry to disappoint you. What exactly are humans doing to cause earthquakes? In a nutshell, man-made quakes are most commonly caused by mining, reservoir impoundment, or dam building.