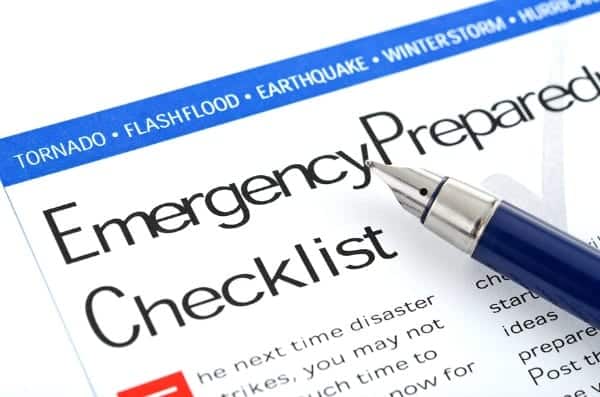
10 Tips to Get Your Vehicle Prepared
People spend A LOT of time in their vehicles. Whether you’re commuting in your car, running the kids to school, spending the day in your work truck, or traveling the country with your RV or motorcycle, you’re relying on your vehicle to keep you safe. Today we’ll be covering 10 handy tips on what you can do to maximize your safety on the road and in emergencies.
BONUS TIP: The biggest and best thing each and everyone of us can do is to drive safely in the first place. No tail-gating, no excessive speeding, full stops, and all that other good stuff that we learned when we were 16. This mostly involves following the law and common courtesy though, so I’m going to assume it doesn’t need to be a fully-fledged tip.
Why Now?
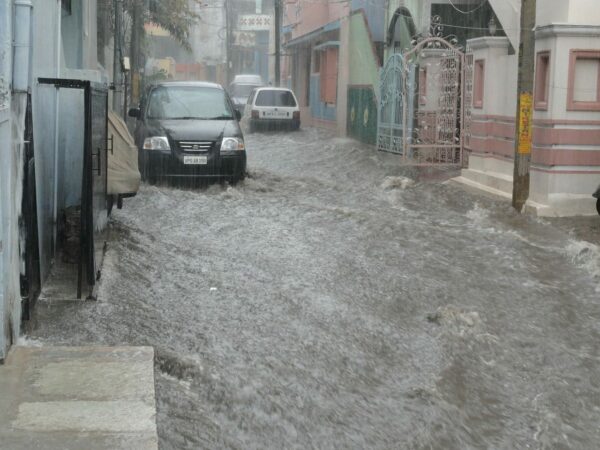
Because the Starks are right: Winter is coming. While Canadian winters might not involve White Walkers or unsatisfying finales, they are still a force to be reckoned with. Drivers are at the most risk in snowy, cold, or icy weather due to slippery roads, poor visibility, accidents, and road closures/breakdowns.
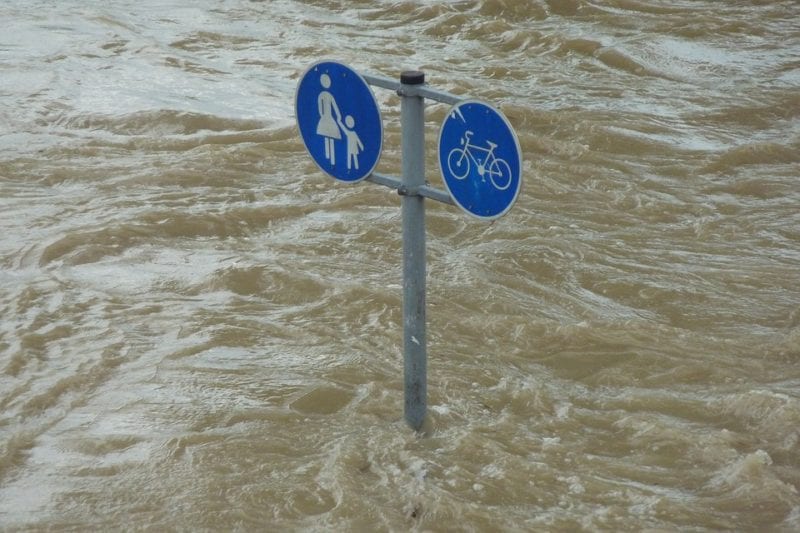
Holiday travel adds another layer to our usual commutes, taking us further from home and creating congestion in busy areas. Throw in Holiday shoppers and suddenly traffic is nightmarish! Even if you’re doing everything right it only takes a rogue storm to close some more rural roads. Remember a couple of years ago when holiday travellers were trapped for 24 hours on the Coquihalla highway due to snow? A little preparedness goes a long way in those situations!
Cars, Trucks, and RVs as Emergency Kits
If you have space in your vehicle, considering keeping some of your shelter in place kit there. An RV is the ultimate survival shelter after all! If your kit is your car than you can be confident it will always be with you when you need it. The sturdy shell will also insulate and protect supplies in particularly rough situations. Keeping the bulk of your kit in your car also minimizes the need for a separate get-home bag, just make sure to have a backpack with the supplies so you can move away from your vehicle with them if need be.
Work Trucks and Company Vehicles
Vehicle preparedness is especially important if you work from a vehicle, or have employees who do. The more time is spent in/around your car, the more prepared one should aim to be. Total Prepare works with transportation companies and organizations with vehicle fleets to make sure that their drivers and passengers are as safe as possible in their cars.
If you manage a fleet let us know – we’ll happily work with you to find solutions that work with your vehicles and budget.
The Tips
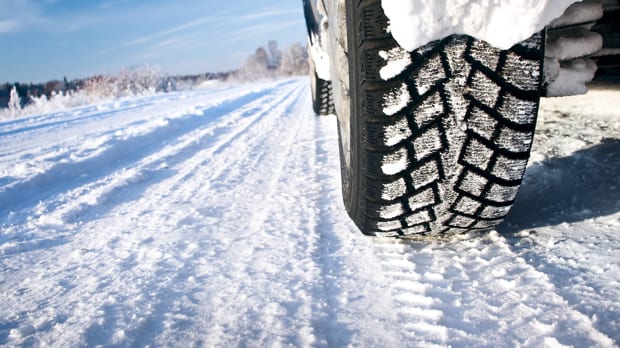
1. Be Winter Ready
Cold weather means less visibility, less traction, and fewer people driving with both hands on the wheel (what? They’re cold.) Happily, through the wonders of modern technology and old-fangled ingenuity there’s lots we can do to ready ourselves and our vehicles for these conditions.
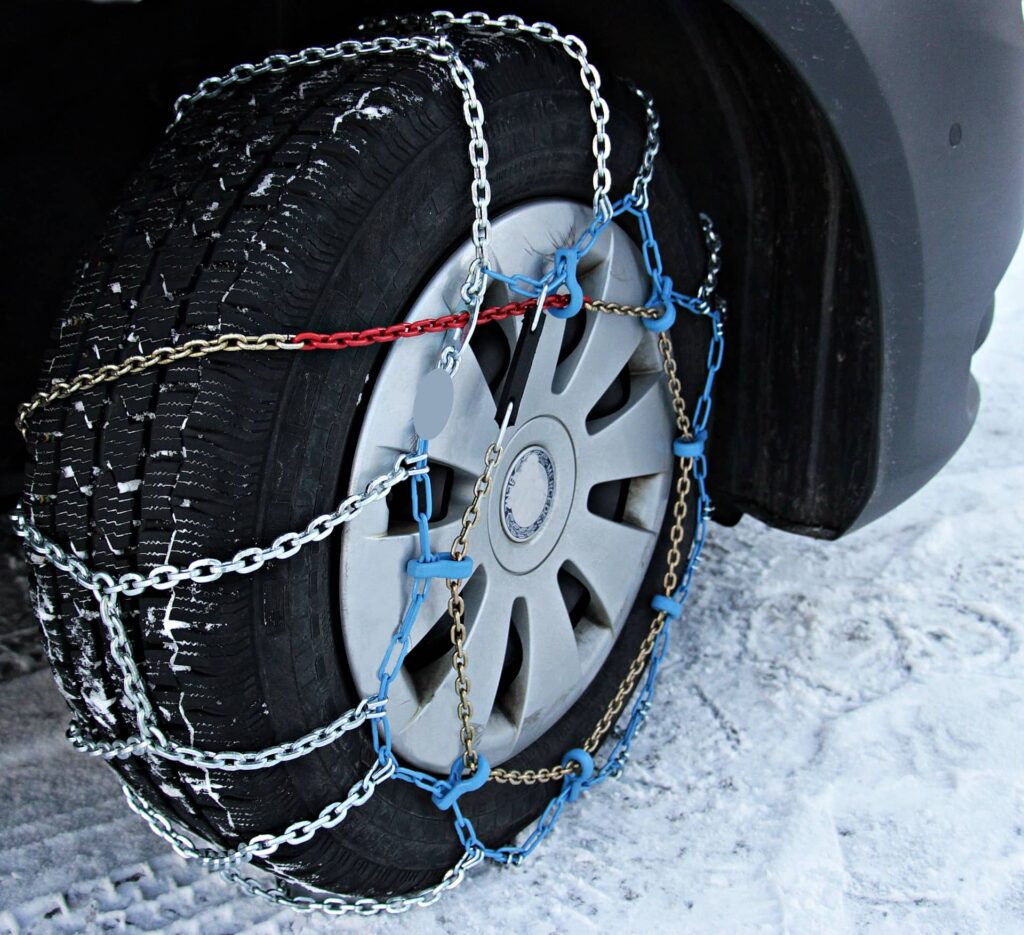
Winter tires. Do I need to say more? All seasons should be an absolute minimum for this time of year, but if you’re driving up a mountain, through significant snow, or in an area known for ice, please – PLEASE – upgrade to winter tires. Carry chains and a bag of road salt in the trunk too, just in case the tires need support.
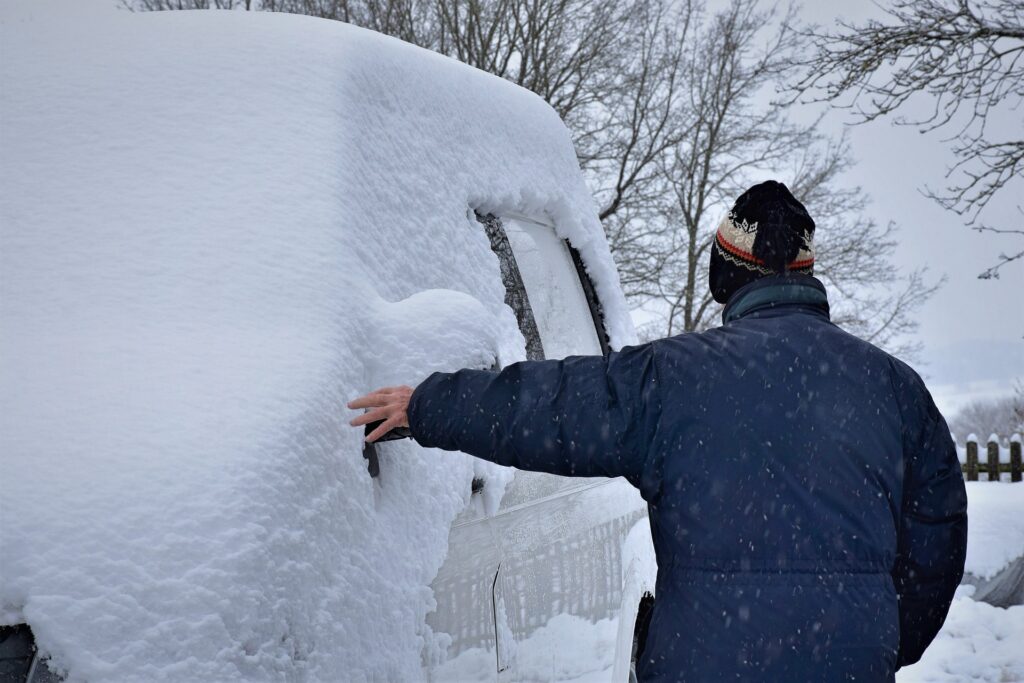
I am no stranger to driving with the tiny, clear windshield porthole on a frosty morning. It’s ridiculous, and dangerous, and my mother will have words with me if she ever reads this article. Do my poor old mother’s heart a favour and be better than me. Start early and scrape/un-fog the whole dang thing. (I’m getting better – promise!)
2. Know Disaster Response Routes
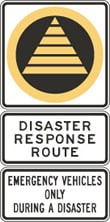
Disaster response routes are the most efficient paths for emergency vehicles to take to and from major destinations. They’re often marked with the below sign and are vital arteries for emergency transport in the event of a disaster. Take note of these routes before an emergency happens and avoid them when an event occurs. The more cars that are on these critical roads the more difficult it will be for first responders to get where they’re needed most.
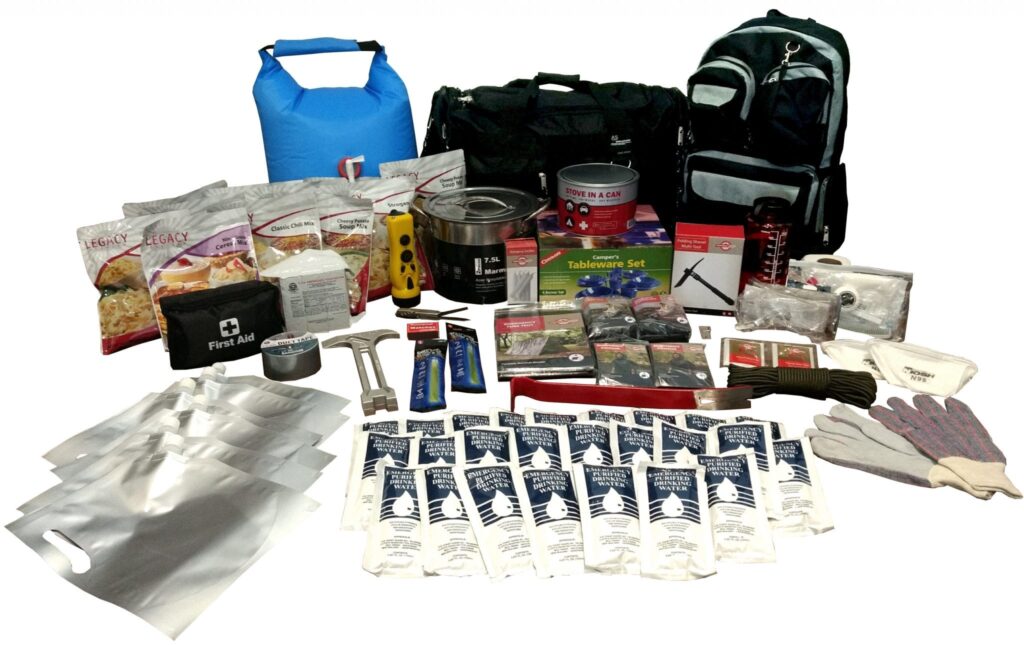
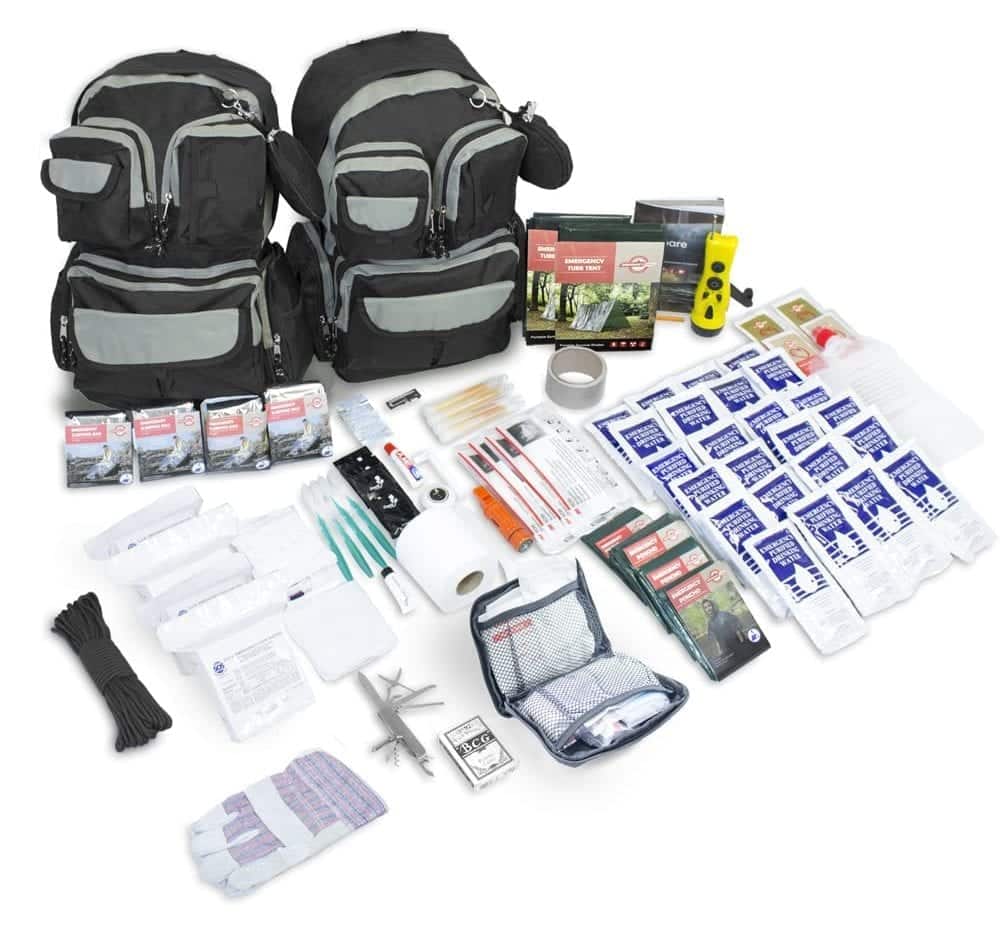
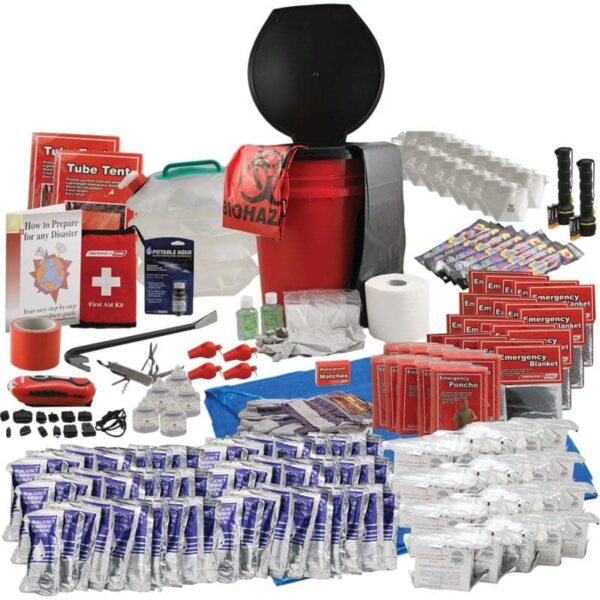
3. Get a Kit
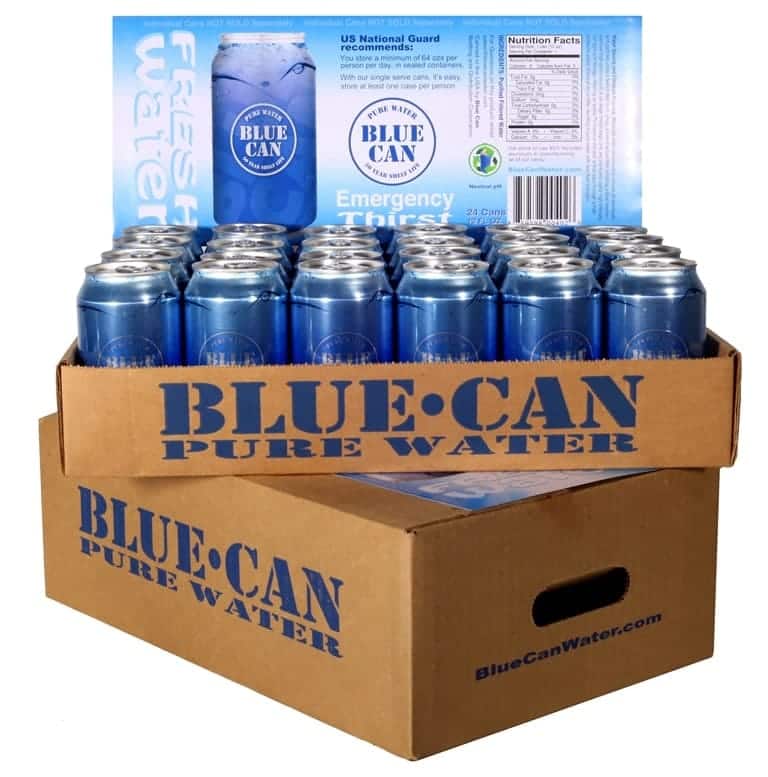
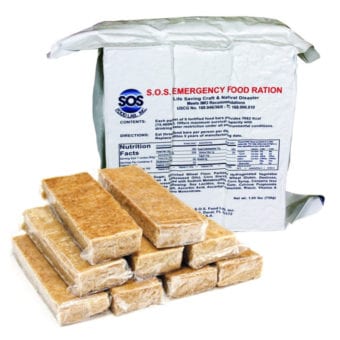
I know we say this a lot, but it’s important: Have a kit everywhere you spend lots of time. For many of us this includes our vehicles. A little food and water, a blanket, and a way of signalling for help (sign, lightstick, or beacon) should be a minimum. Vehicle kits can be more comprehensive than this, but if you’re short on space, keep it simple.
If you’re someone who spends extended time on the move and is not comfortable answering nature’s call at the side of the road, consider adding a Restop to your glove box. The Malahat is a portion of our local highway that is notorious for eternal traffic jams and we’ve had many customers express their appreciation for a portable emergency toilet option!
4. Know How to Use It.
Supplies are only useful if you know how to use them. Many things are self explanatory, like blankets, but others can be more complex. If you pack flameless meal heaters or MREs in your car, for example, test one first to ensure you know what’s what. When you’re stuck on the side of the road is not the best time for trial-and-error learning.
If you have any questions about the use of your supplies please don’t hesitate to call our friendly team. We’re with you every step of the way. If you are near the Victoria area, feel free to drop by our store too and we’ll happily show you how to use items in person. For most supplies we have floor models in store we will happily demonstrate with.
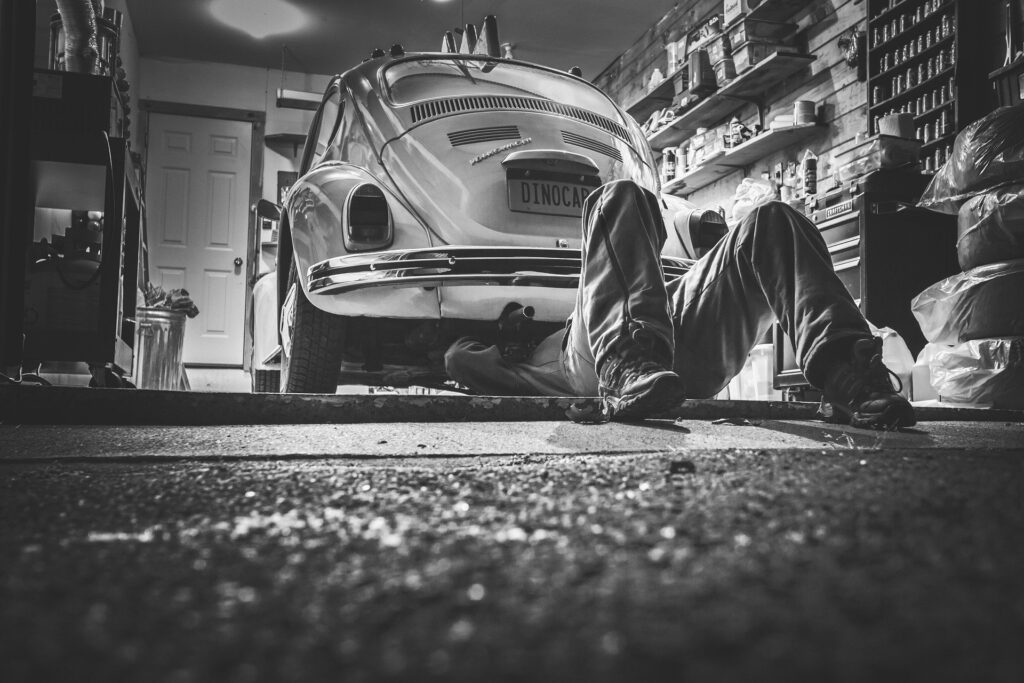
5. Get to Know Your Car
In a perfect world, we would all drive fully functioning, like-new vehicles and maintain them at all times. Fortunately for the auto-mechanic industry, this is not so. Get to know your vehicles quirks, if it has them, so you can pre-empt any related safety issues. For example, when I was in school I couldn’t afford to replace the brakes on my 2000 Chrysler Neon. Knowing this, I could leave a LOT of stopping distance when I drove. My mum’s old car wouldn’t always start when it was cold, so she parked in indoor structures whenever she could. A friend’s car burned through a full tank of coolant in an hour, so she always carried jugs of water as a stop-gap.
… do I just know a lot of people with junk cars?
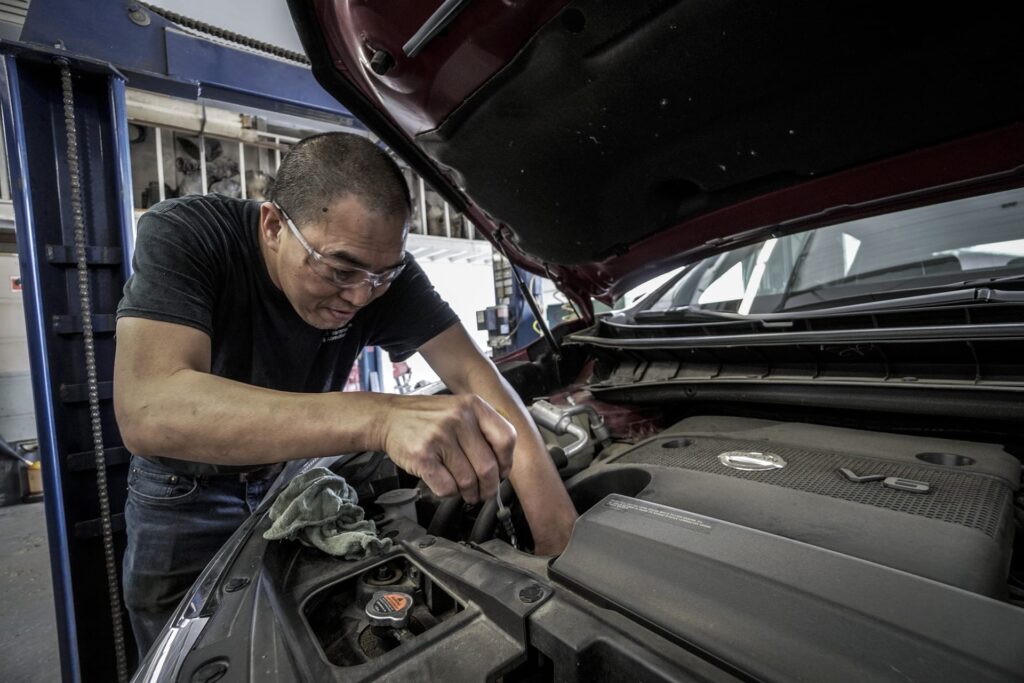
Getting to know your vehicle also includes learning how to deal with less unique problems. Changing a tire and jump-starting a car are easy fixes that can keep a nuisance from becoming a bigger problem. No one wants to be stranded because they didn’t know how to do a simple fix! Ask friends/parents/neighbours to teach you these skills if you’re not already familiar. I keep notes in my glove box to walk myself through each process, and they’ve been used multiple times!
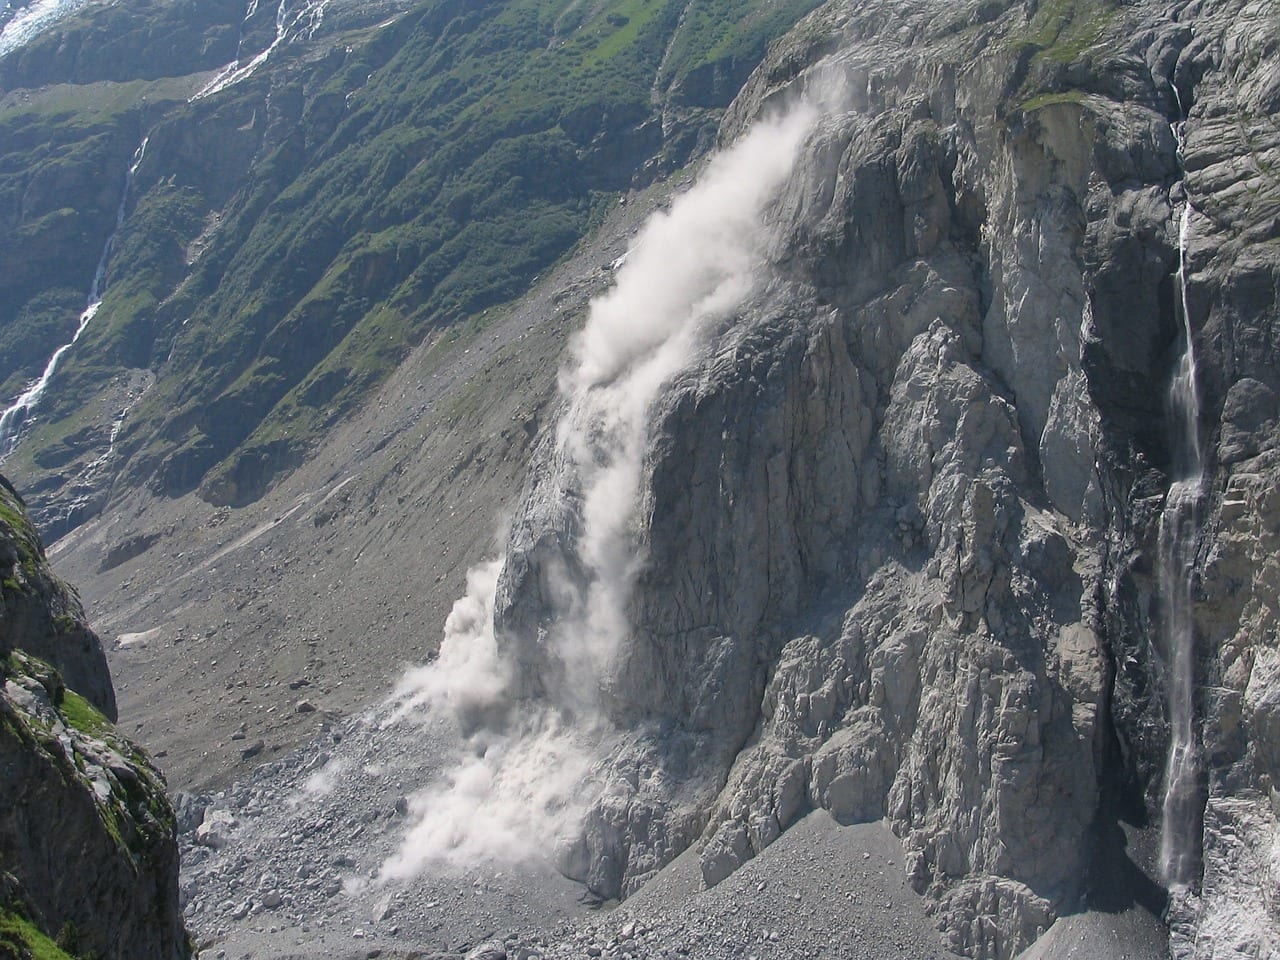
Vehicle Safety During an Earthquake
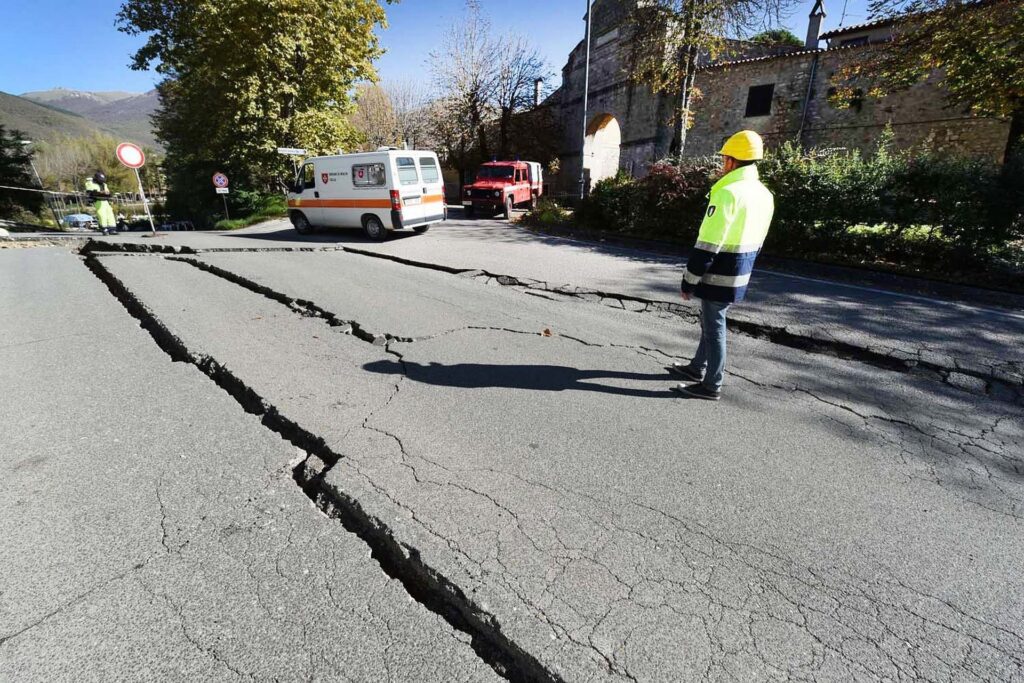
Earthquakes aren’t unusual in Canada. While we see the most seismic activity and awareness in BC, there are also active fault lines in Montreal and regular quakes throughout the east coast. As long as you’re not in a tunnel or on a bridge, your car is a pretty safe place to be in a quake. But what can we do to maximize our safety when the ground is shaking?
6. Drive With Caution
If you notice shaking while you’re driving, slow to a stop. Stay in your vehicle until the shaking stops, and do not leave it until there is no shaking for 60 consecutive seconds. If the roads are clear, drive slowly and carefully. People may act erratically as they try to get home to loved ones. Be patient, as roadways may be damaged or clogged.
If the roads are impassable, do your best to pull over, leaving the way as clear as possible for emergency vehicles and road crews. Grab your get-home bag, or the food/water/blanket portions of your vehicle kit, and start walking. We recommend keeping a pair of walking shoes in your car for these situations, especially if your usual footgear involves 4+ inch heels!
7. Avoid Hazards
After a severe earthquake there will be many unusual hazards to watch out for on the road. Some will be predictable – congestion, more emergency vehicles, and downed power lines – but some will seem almost alien in their incongruity – liquification, shattered streets, or huge sinkholes. Make sure that you’re moving slowly enough to stop if any of the above appear in your path.
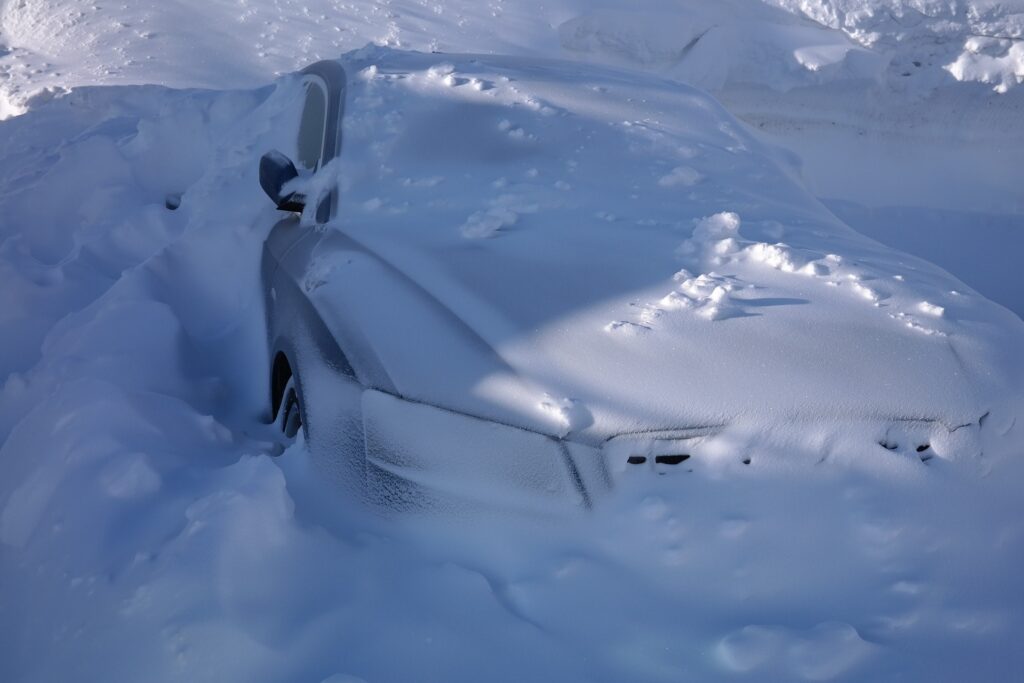
Driving in a Winter Storm/Blizzard
It wouldn’t be a Canadian winter without at least a few good blowers. It’s our national brand after all! But if you’re caught driving in a bad storm, there are a few things you can do to keep safe, or to stay warm if you’re stranded. We’ve written on this topic before, so check out this post for an in-depth look at snow/vehicle safety.
8. Don’t!
If at all possible, don’t drive in a storm or blizzard. Grab a book and a blanket and snuggle up by the fire instead. The beer run can wait. Stay with friends or offer your couch to guests who would otherwise need to get behind the wheel. In many blizzards visibility can get so bad that even crossing the street can be an opportunity to get lost!
9. Stay in/with Your Vehicle
If you do get stuck/stranded don’t wander into the storm. Your car is shelter and your odds of noticed by others is much greater if you’re with a vehicle. It will also shield you from the wind and snow. Do your best to stay visible with emergency lights and signs so passing cars know you need help.
10. Be Mindful of the Dangers
Even if you are simply taking shelter in your car there are hidden dangers that you need to be wary off – especially if there is heavy snowfall. Running the car to stay warm is great, but if your tailpipe becomes plugged with snow you’ll run a high risk of carbon dioxide poisoning. If you’re trying to dig yourself out, or clear a perimeter around your vehicle, take regular breaks and be careful not to strain yourself. Heart attacks are very common in these situations. As we mentioned above, we have covered these topics in more detail here.
Summary
Ninety percent of safe driving is common sense and some basic skill. The other 10% is preparation. Know your vehicle, your kit, and your local emergencies like the back of your hand, and you’ll stand the best chance of arriving safe and sound to any destination. Drive carefully, give space to other drivers, and be sure to have emergency supplies in your vehicle.
Bonus tip! There’s a piece of advice my mother gave me that I think really fits with these tips. If there’s an idiot on the road, make sure they’re in front of you. That way you never have to rely on their reaction times, only on yours. Hopefully that wisdom comes in handy – I know it has for me!
Thank you for reading! Share your questions and comments with us below – we’d love to chat.
This article was written by Zenia Platten – Author of Tethered and Emergency Preparedness Professional.